The complete beginners guide to the Salkantay Trek
A trip to Peru wouldn’t be complete without hiking in the Andes and a visit to one of the 7 Wonders of the World, Machu Picchu. But perhaps like me you have an aversion to planning anything 6 months in advance, and it turns out all of the tickets to trek the Inca Trail have been sold out. Fear not, for there is another, arguably better route you can take that will see you tackle glacial lakes, mountain passes, jungles and more – all with the infamous Inkan city waiting for you at the end – the Salkantay Trek!
This guide aims to give you all the information you need to be properly prepared for the trek; from how to book the tour in Cusco, to clothing and what else to pack to make your trip a highlight of your time in South America!
- Why do the Salkantay Trail
- How to book the Salkantay Trail
- How much does the Salkantay Trail cost?
- What to bring on the Salkantay Trail?
Why do the Salkantay Trail?
The Inkan trail is one of the most well known expeditions in the world, and with good reason – walking along an original Inkan road, with National Geographical views in every direction, this trek ticks many boxes. However, with this notoriety comes considerable issues – eroded footpaths, poorly treated porters, and abuse of the natural environment. This all caused the Peruvian government to limit the number of people who can start the trail each day to 400. Whilst attempting to manage this precious resource they have is laudable, and indeed to be encouraged, 400 people is still a phenomenally large number of people to have on the same narrow trail every single day for months on end.
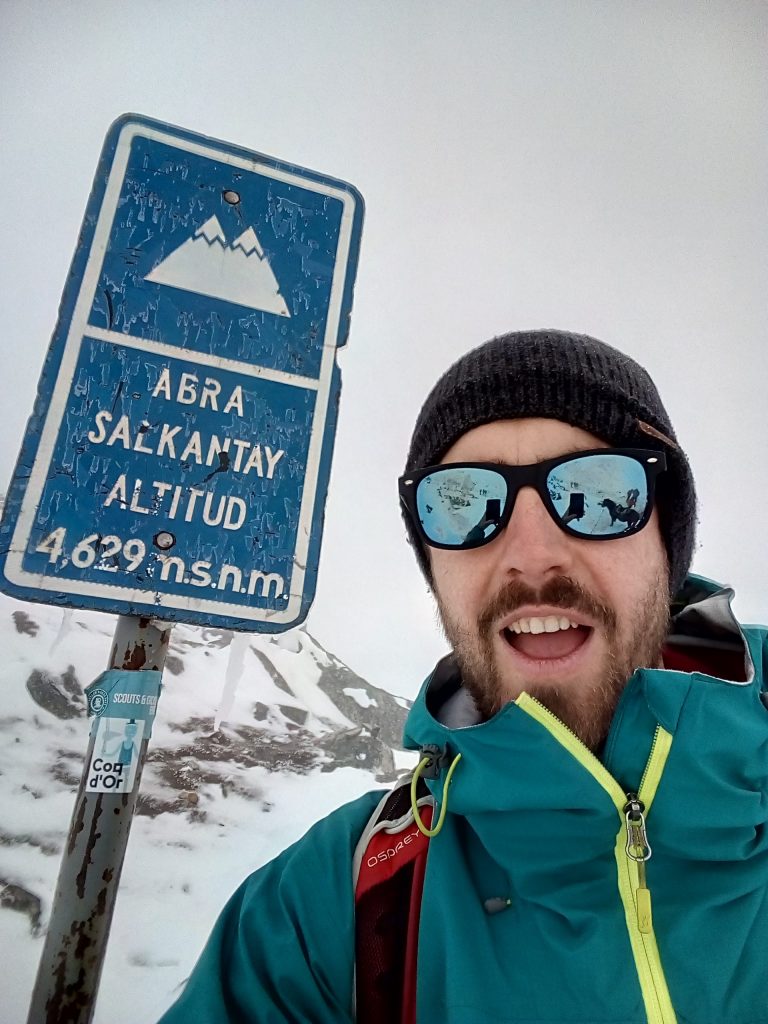
Along with the obvious attraction of finishing at Machu Picchu, hiking in the Andes is a fantastic experience for its natural beauty and stunning landscapes. As someone who lived in the Alps for several years beautiful mountains are in my blood, but the Andes hold their own special place in my heart – much older and so more rounded than their Alpine cousins, they rise far higher but with less fanfare. The Salkantay trail is so named because of its passage beneath the imposing 6,271m tall Salkantay mountain, the tallest in the region, and this should give you an indication that this expedition will involve properly going into the mountains. As a less well known trail it has far fewer visitors compared to the Inkan trail, but arguably comparable if not better views – views that you will be sharing with some donkeys and just the few people in your group, not the 399 other people trekking directly behind you!
How to book the Salkantay Trail
Spontaneity is one of the key aspects of travel for me – the ability to turn up somewhere, find out something exciting happens nearby and to be able to take part. Due to its popularity and the fact you have to get one of the 400 daily permits in advance to do the Inkan trail, planning 6 months in advance is key for that trail, The beauty of the Salkantay trail is that you can book in when you arrive in Cusco and leave 2 days later!
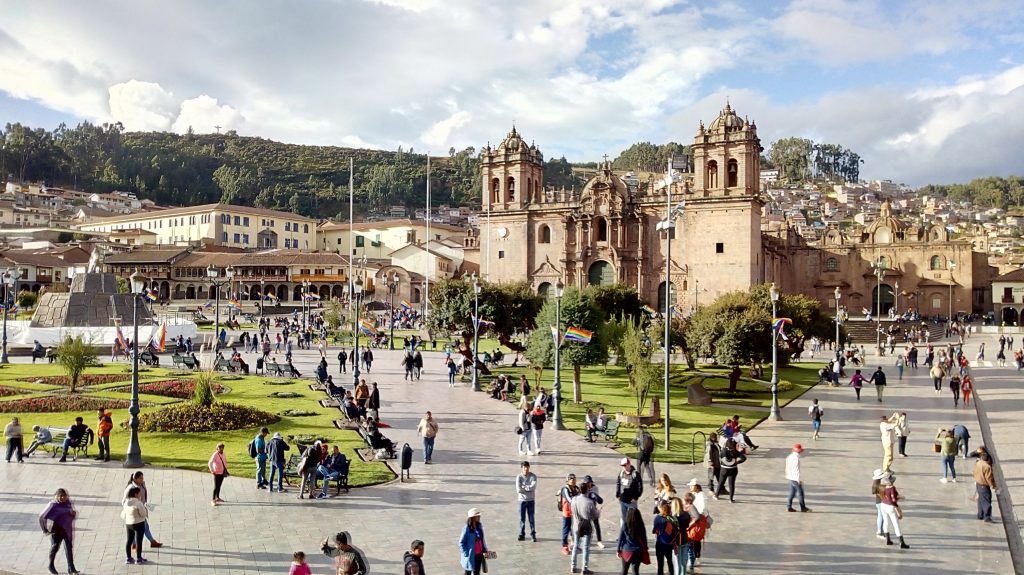
In Cusco there are literally hundreds of travel agents, all vying for your attention and business. This can be a bit overwhelming when you walk around the central square ¨Plaza des Armas¨, but you can also use this to your advantage. Here are some key points to bear in mind:
- Most small travel agents are simply go-between guys that actually send you onto one of the main ¨real¨ larger tour operators
- There are small but important differences between what these agencies offer; for instance pay attention to what type of tents you will be staying in on the first and second nights (some are simply tents put inside a shelter, others are personal wooden ¨tents¨, or if you are fancy even these fancy globe tents with a see-through roof to supposedly watch the stars)
- Make note of exactly what is included and what you need to pay extra for – most agencies we saw included 4 Breakfasts, 4 Lunches and 4 Dinners. This means (on a standard 5 day expedition) you have to pay for breakfast on Day 1. Other common extras are entry to Humantay Lake & lunch on Day 5. <Check the pricing section for more details>
- Check what they say about their porters and staff – there are unfortunately several unscrupulous agencies who abuse their staff with poor working conditions and pay. It can be hard to tell as these small agencies aren’t necessarily particularly close to who actually runs the trips – but the good ones should be able to offer some confidence they`ll respect them
Our experience of booking went like this – visit 6 different agencies, get tired of hearing the same schpeel time and time again, and go with the guy who sold it the best. Simples. 3 or 4 hours should be plenty of time to decide.
The booking process I’ve outlined above was for us arriving at the start of June, which is the start of the dry Season (and the most popular time of year to do this trek). As you get further into June and July these treks do get more popular, so you may find it useful to contact a supplier further in advance to ensure you get a place when you want.
How much does the Salkantay Trail cost?
We booked through an agency based on Plaza des Armas, ¨Amazon Cordillera Tours`. However, on the day before when we had our ´check-in´ our agency walked us to ´Machu Picchu Reservations (http://machupicchureservations.org/tour/salkantay-trek-5-days/)´.
Here are the all the costs for our trip (not including clothing),
I´ve written exactly the currency we paid in, and then exchanged into USD using the current exchange rate of 1 SOL = 0.30 USD (20th June 2018)
USD $10
| Basic Trip (5 Days, 4 Nights, 4 x Breakfast, Lunch & Dinner | USD $180 | |
| Entrance to Machu Picchu Mountain | USD $15 | |
| Sleeping bag | ~USD $7.72 | SOL 25 |
| Snacks (bought in supermarket in Cusco) | ~USD $10 | |
| Breakfast Day 1 in Mollepata | ~USD $7.72 | SOL 25 |
| Entrance to the trail (paid at the start of the trail in Soraypampa) | ~USD $3 | SOL 10 |
| Water on trail (bought on Day 1 and 2) (2 litres) | ~USD $7.41 | SOL 12 x 2 = SOL 24 |
| Bus & entry to hot springs (optional, Day 3) | ~USD $7.72 | SOL 10 & SOL 15 = SOL 25 |
| Zip-lining (on Day 4, optional) | ||
| Tips | ~USD $33 | SOL 50 for chefs SOL 50 for guide SOL 10 for porters=SOL 110 |
| Total | ~USD $273 |
There are opportunities to spend a lot more money of course; little family shops along the trail selling sweets and drinks, a plethora of market stalls below Machu Picchu in Agua Calientes selling all manners of touristy paraphernalia. But nothing too different than what you could get in Cusco.
What to bring on the Salkantay Trail?
Of all the things that what most surprising during the trek was the clothing and equipment people brought with them. As someone whose job was ensuring safe and fun adventures in the mountain wonderland that is the Swiss Alps, I was often concerned about the safety of my fellow trekkers, and so this advice is based on my collective experience for a safe and enjoyable time in the mountains, be them Switzerland, Peru or Patagonia.
One of the main ideas to keep in mind is layers are your friend. Through having clothes that you can layer on and off as the conditions require, you can stay at the right temperature and stay comfortable.
Remember: This is an ideal kit list – if you don’t have all these items, you don’t need to go out and buy the most expensive named brand you know. See if your friends have an item you can borrow, or just be aware and think how to deal with it!
Base Layer
On top: On the layer touching your skin, you would ideally like something reasonably tight but made of a material that will ´wick´ the moisture (sweat) away from your skin. Perfect would be those athletic sport tops you wear at the gym, or running. If possible, try to stay away from cotton – whilst these may feel warm, as soon as they get wet (from sweat or rain), they stay wet – not good!
On legs: Camp on the first night is at 3,900m. This is officially ¨really quite high¨TM, and as such you will want enough layers to be able to keep warm – the last thing you want is to be shivering all night before attempting the 4,600m Salkantay pass the next day. I was actually missing this from when I was travelling, so I purchased a thicker pair of thermal leggings in Cusco for SOL 25 – these then became my pyjamas afterwards.
Mid layer
This is the layer which sits between your base layer and your outside waterproof shell. This is where you can wear a nice warm fleece which will keep in your body heat when you’re cold. Ideally you’d want something lightweight but realistically your hoody or classic Peruvian ¨alpaca¨ jumper (definitely not Alpaca if you paid $10) can work here.

Outer shell – waterproof
Most people tend to do the Salkantay trail in ¨dry season¨- between May and October. The ¨dry¨ aspect is a seasonal tendency, and certainly not a rule – particularly in the mountains. This means it is important to bring a waterproof top that goes on top of all the above layers and (attempts) to keep them dry. Waterproof layers should also be a bit more rigid and strong, which will help keep the wind from whipping through.
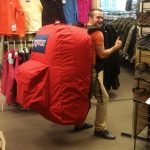
Many people brought ponchos with them that they would then use to put over their whole body & bag. Whilst this is better than having no waterproof at all, ponchos come with a fair number of disadvantages too – particularly the ones they sell in Cusco: firstly, they are not at all breathable – meaning that whilst it may keep the rain out, the inside will still get soaked from your own sweat, rendering them useless. Secondly, the plastic used in these cheap ones is basically just like a plastic bag from a supermarket (and not even the nice thick ¨bag for life¨plastic, meaning they rip very easily – leaving you exposed.
If at all possible, invest in a good waterproof before you leave on your travels – it will pay for itself over the course of your trip!
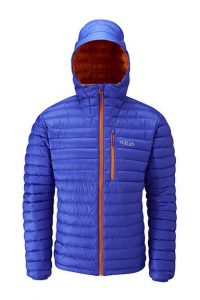
Protip: Many people on the hike were wearing coats which looked like this – thick puffy, with lots of horizontal seams. These coats are often very warm (they may contain down (goose feathers), or be synthetic), but unless you get a very high quality (read: expensive) one, they will not be waterproof – indeed, when they get wet they lose all their warming capacity. Take care!
Trousers
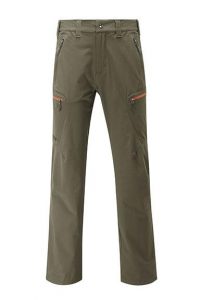
Good trousers will also ensure you stay dry and comfortable throughout your 5 days. A good pair should be reasonably lightweight and water resistant, or at least quick drying – I was able to wear the same pair for all 5 days of the trek.
Protip: One of the most important tips I can give here is to not wear jeans! Jeans are a terrible hiking trouser choice – for similar reasons to why wearing cotton as your base layer is not great. Once jeans get wet (which they will), good luck getting them dry whilst camping. We hiked through snow and rain for 5 hours on the Day 2, and everyone was soaked. The jeans however then stayed soaked, which meant not only getting cold, but chafing (not ideal when you have 3 days more of hiking), and also the extra effort in carrying the heavy jeans over the mountains. Keep away from jeans!
Things for your feet
The only thing between your lumbering mess of limbs and the thunderous mountain terrain are your boots and socks – so these are key in ensuring the most comfortable and enjoyable trek possible.
Walking boots are best here, with ankle protection being key. If you´re not used to walking with boots some people can find it weird having constrictions around your ankle – but trust me in knowing you will value this protection the longer into the hike you go. The terrain is uneven, you´ll be sliding down little mud streams, and the last thing you want is to twist an ankle – helicopter rescue is non existent in this part of the Andes, so it´ll be a long and uncomfortable journey on a horse down. It is possible to do this in lower walking shoes – but I wouldn’t recommend it. There’s a reason all mountaineers wear boots.
However, even if you have the best boots in the world, you´ll still be a blister covered hobbling mess unless you wear the right socks. As ever, a key word here is once again ¨wicking¨- you want your socks to be able to move the sweat away from your feet, as it is moisture and friction that cause blisters. Hiking socks are designed to not only wick the moisture away but to also provide extra support in high pressure areas – but you can also try wearing 2 pairs of socks to get a similar outcome. A key point here is make sure you have plenty of spare pairs of socks – I´d recommend at least 2 good quality hiking sock pairs, plus a couple extra for the dryer days and nights that you can wear either in addition or at night.
Extras
Gloves – really important to stay warm both whilst going over the pass, and at night where temperatures can reach -10oC.
Hat – warm hat for the mountain days, sun hat for the later days in the jungle
Sunglasses – dual purposes; both the obvious sunny days at lower altitudes, but also very important for when crossing snow covered passes, these will prevent you getting snow-blind
Torch – head torch is useful but we made do with the torches on our phones (as long as your battery lasts)
Flipflops – useful to change into at the end of the day to give your feet a break
Toilet Paper – essential as many toilets on the road won’t have paper, plus can be used for ¨Inkan toilet¨ if caught short up a mountain!
Medication – can never go wrong with plasters and tape for dealing with blisters, cuts etc. Also important to inform your mountain guide of any pre-existing medical conditions & medication being taken
Sleeping bag – whether you have one with you or hire one, important to be a thick 4 season bag capable of keeping you warm in -10 degrees! Don´t trust that thin summer bag you bought for Glastonbury festival last year! We hired ours from the agency we booked through which meant we didn’t have to pack the bag at any point, and it was there at the campsites when we arrived, however you can also hire these from the gear shops around the city.
Snacks – the food you get on the trek depends on the agency you go with, but our experience was a very pleasant one – the food was good quality and of sufficient volume. However, having some snacks for while you are on the road is never a bad idea – that little sugar burst can make all the difference when your legs are getting tired and you want to just sit down. A bag of your favourite candy or sweets certainly won’t go amiss, although you can also pick up chocolate bars from the little shops along the way if you suddenly get a craving for a Mars Bar!
This may sound like a lot of kit you need, but you shouldn’t be put off or intimidated by it – it is mostly stuff that you will find useful on the rest of your travels, or you can ask your adventurous mates if you can borrow their stuff – as long as they’re not too jealous to let you have it!
Hopefully this guide will help you plan your own amazing adventure – if you have any questions or want some advice on doing this trek (or other treks), don’t hesitate in leaving me a comment below, or email me at andrew@pridding.co.uk. Enjoy your adventures!
Images of the Rab clothing from the Rab website. I own the ones shown and can recommend (no affiliates here though!)
Be First to Comment